How to configure 🥽
Learn the step-by-step process of configuring the Dynamic Banner Management Module in Perfex CRM.
Introduction
The banner management module within Perfex CRM presents a powerful opportunity to engage users, convey important messages, and promote key initiatives by displaying banners on both admin and client dashboards. In this comprehensive guide, we will walk you through the essential steps to seamlessly implement banner displays within your Perfex CRM, thereby enhancing user experience and maximizing impact.
Banner Management
To add new banners, navigate to the "Banner Management" link in the side menu and click on the "Add New Banner" button. 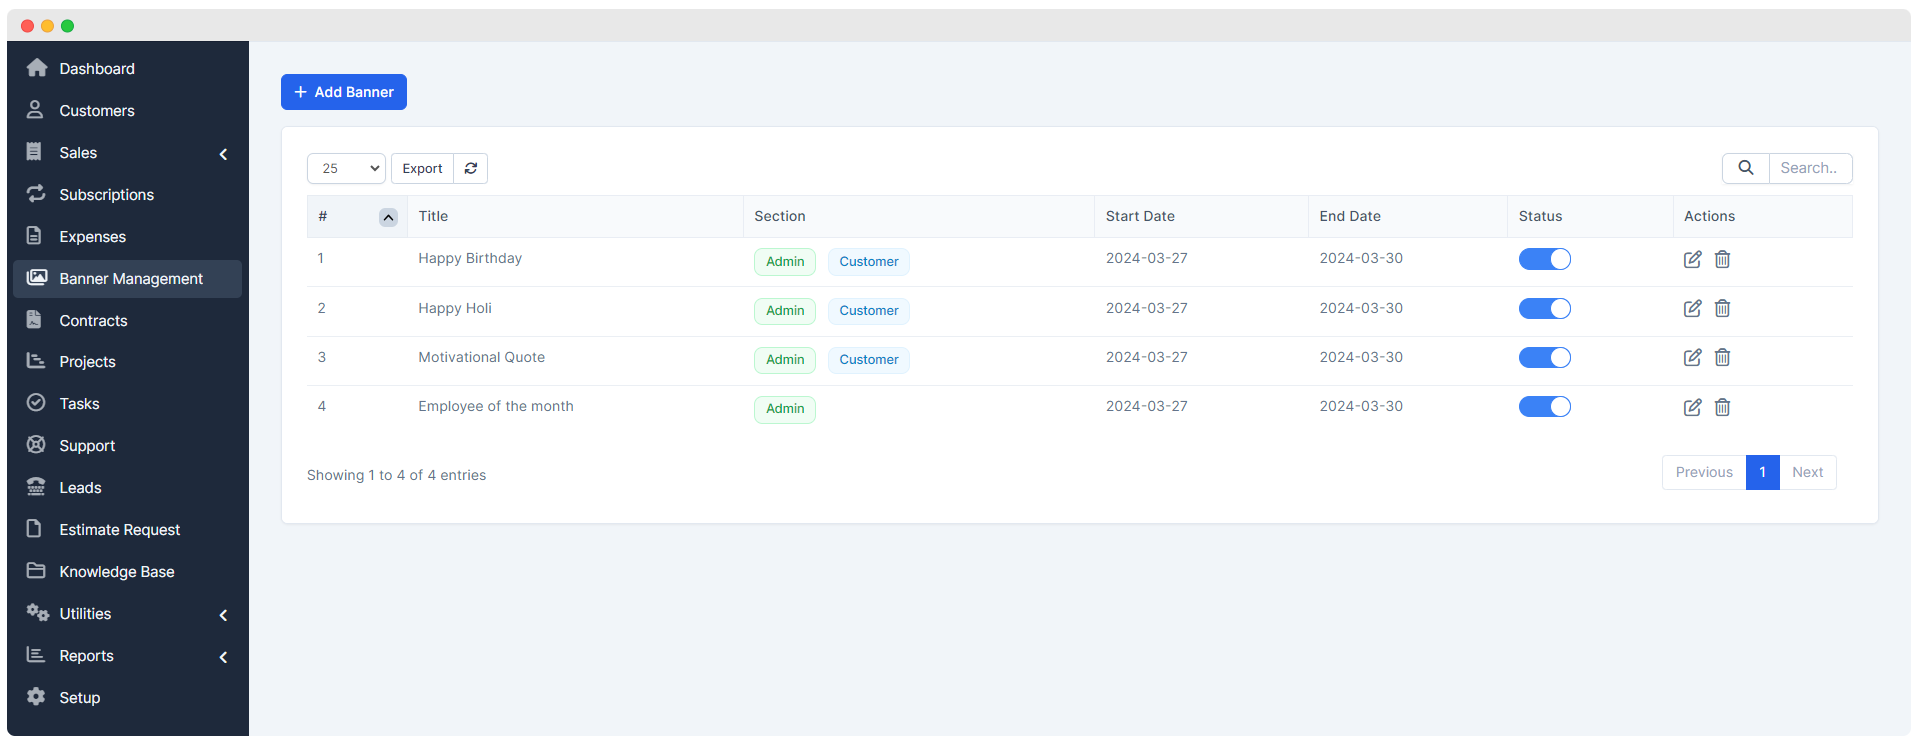
This action will redirect you to a form where you can input the details of your new banner. 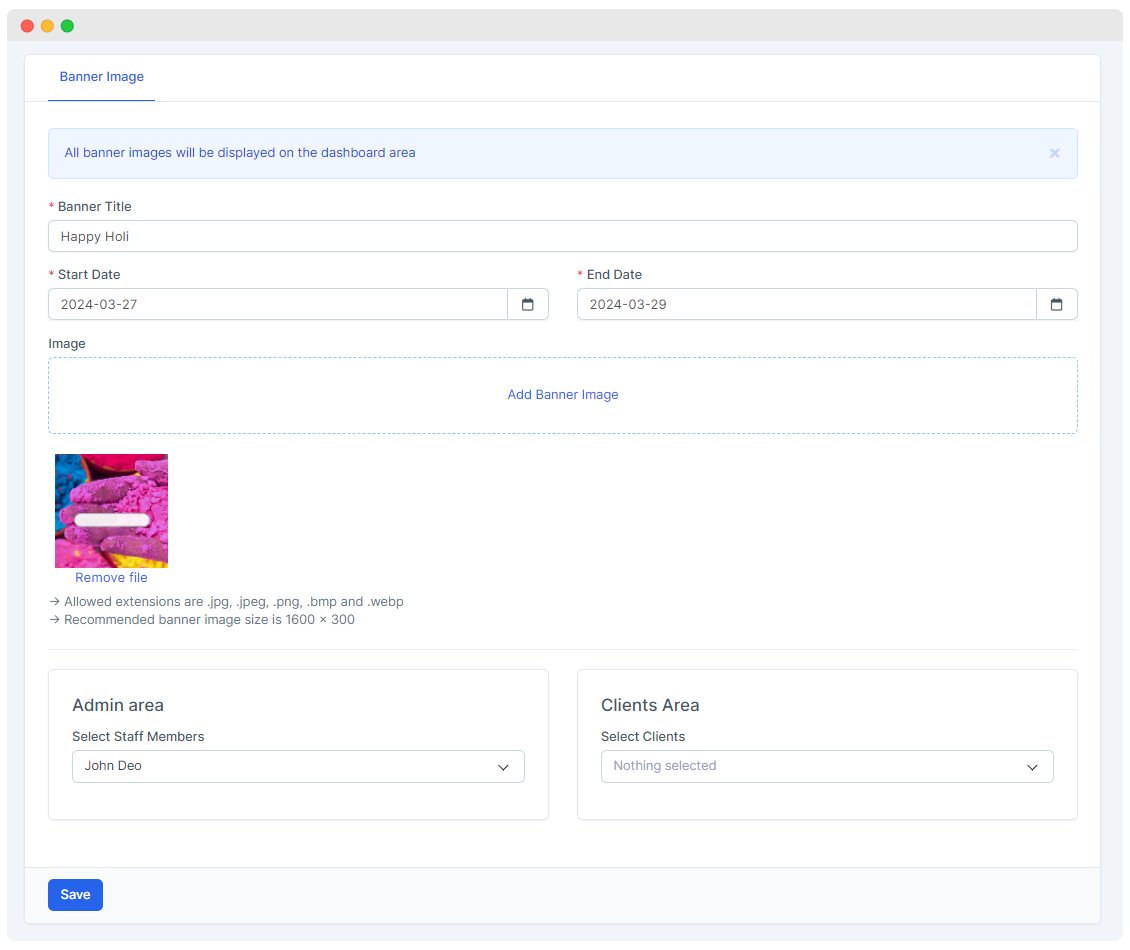
Banner Title
Specify a title for your banner. For instance, a banner wishing someone a happy birthday might have the title "Happy Birthday".
Start Date & End Date
Select the start and end dates to determine the duration for which the banner will be displayed. Banners will appear within the specified time period.
Banner Image
Upload the banner image, ensuring it meets the recommended size of 1600 x 300 pixels. Supported image extensions include .jpg, .jpeg, .png, .bmp, and .webp.
Admin Area
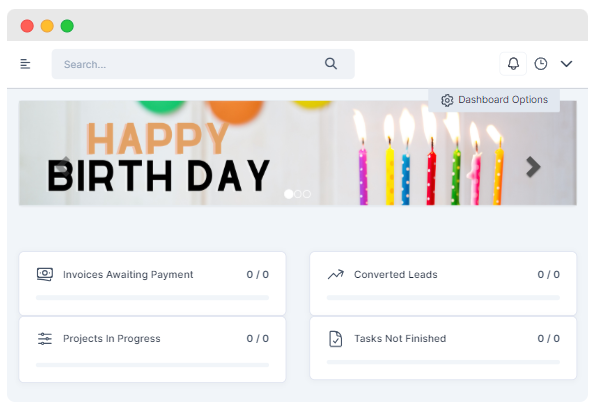
Choose whether to display the banner for all staff members, specific staff members, or omit it from the admin dashboard entirely. The banner on the admin dashboard will appear as shown below: 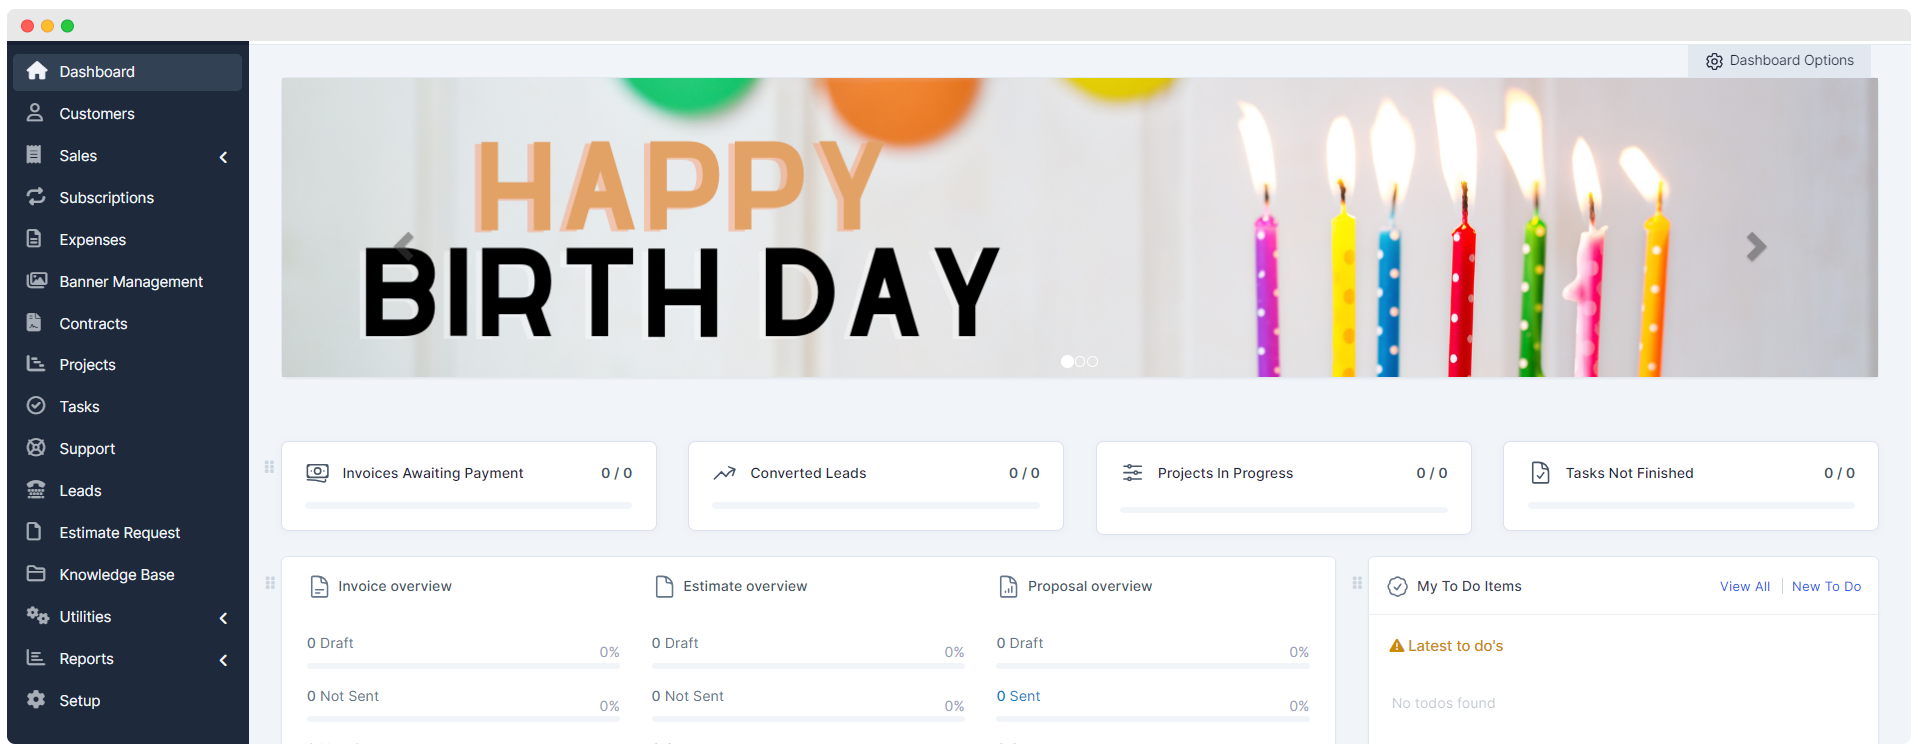
Clients Area
Similarly, select whether to display the banner for all clients, specific clients, or exclude it from the client dashboard. The banner on the client dashboard will appear as shown below: 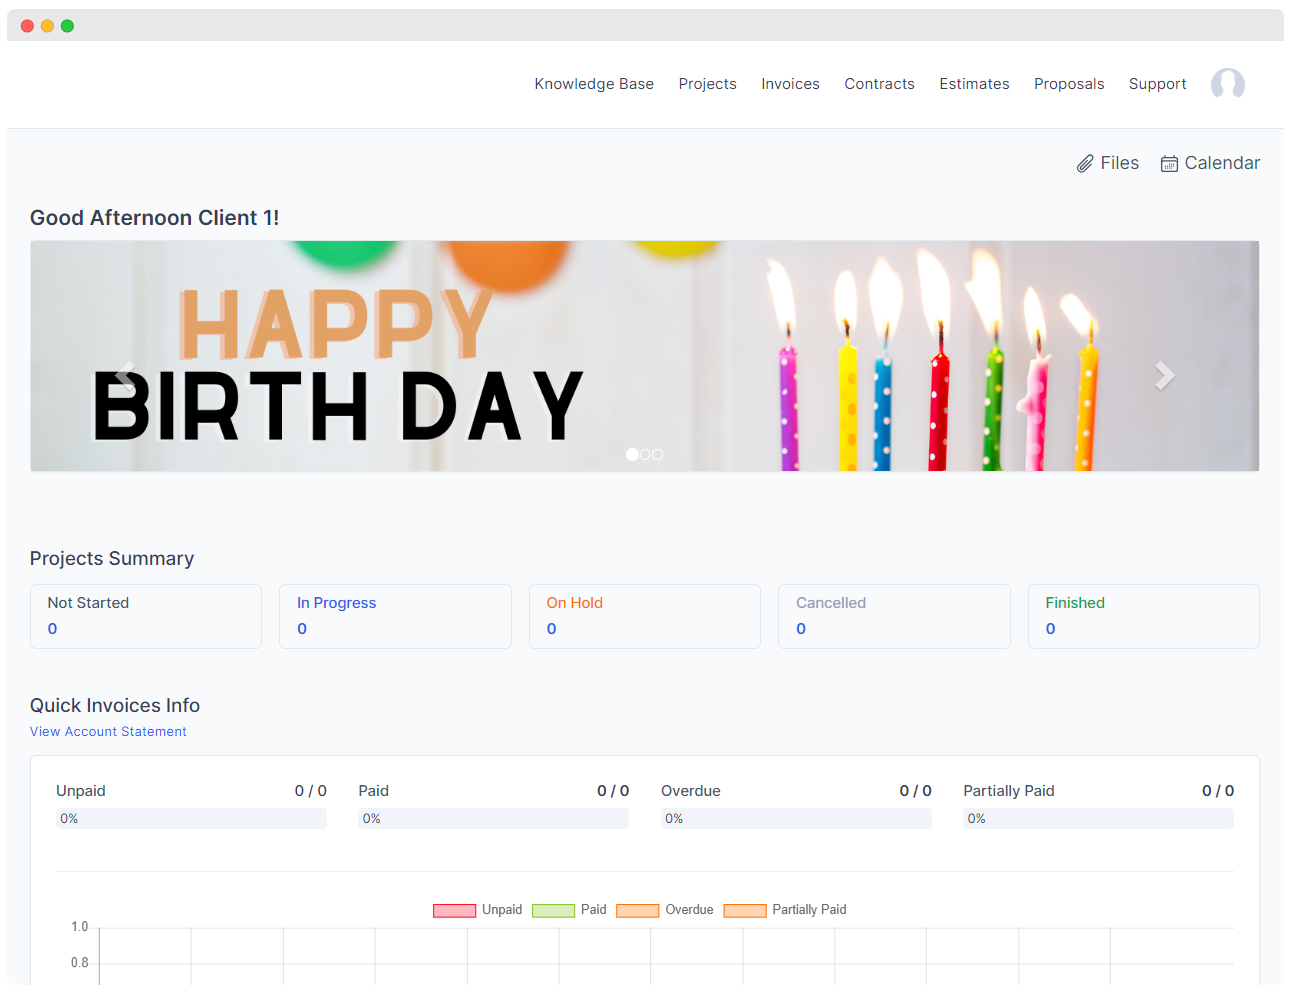
Responsive Design
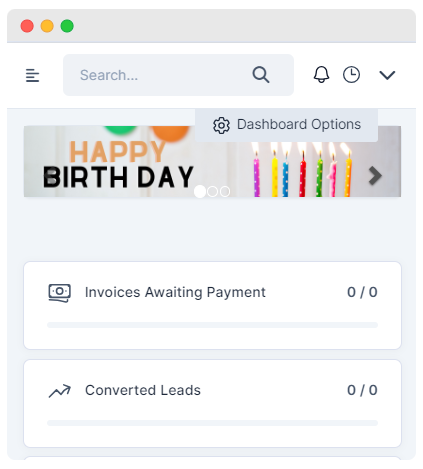
The Banner Management module ensures support for various devices, including desktops, tablets, and mobile devices. You can upload banner images confidently, knowing they will display correctly across different screen sizes.
Here are a few examples of how your banner will look on different devices:
- Desktop/Laptop
- Tablet
- Mobile Devices
Finally, the banner slider will look like this:
That's all, and you are good to go! 🚀 Feel free to contact us if you have any questions or need further assistance.