📦 step-by-step installation guide
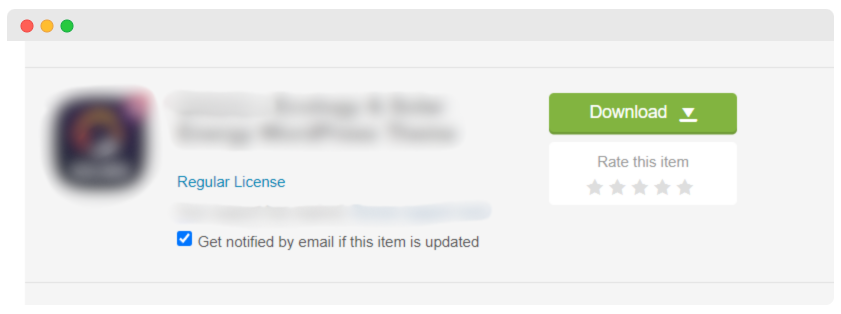
1. Download Plugin Zip
Head to CodeCanyon and download the Plugin zip file.

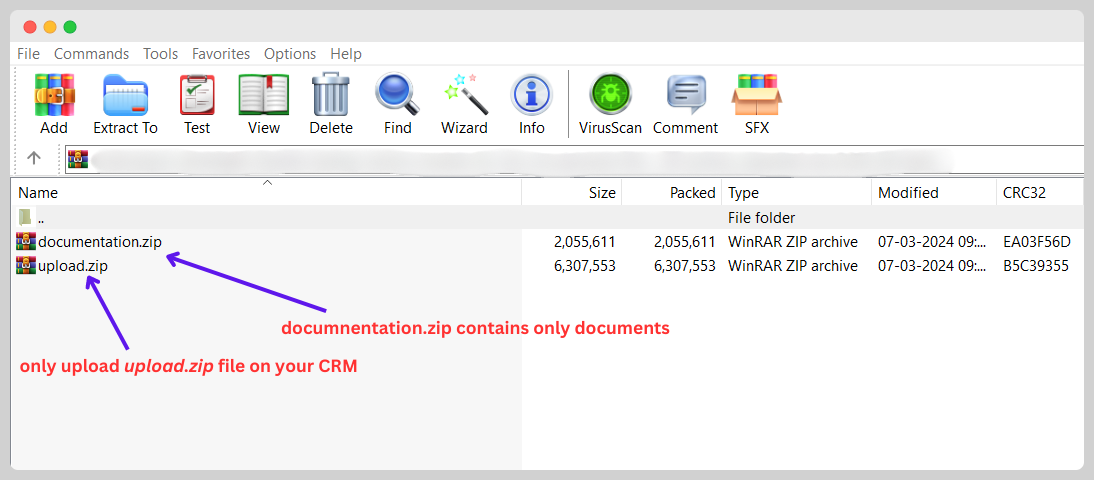
2. Unzip and Access Files
Extract the downloaded zip file, revealing two essential components: 'uploads' and 'documentation'.

3. 🔐 Access Your Rise CRM Admin Panel
Open your web browser and log in to your Rise CRM admin panel using your credentials.
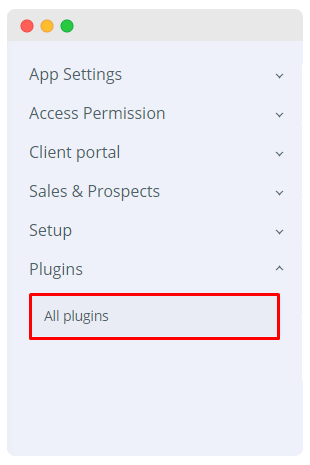
4. 🧭 Navigate to the Plugins Section
- Once logged in, go to the left sidebar menu.
- Click on Setup to expand the menu.
- Find and click on Plugins.

3. 📤 Upload & Install the Plugin
- In the Plugins page, click on the Upload Plugin button.
- A file upload dialog will appear. Click Choose File and select the ZIP file of the Plugin you purchased.
- After selecting the file, click the Upload button.
- After the upload completes, you should see the Plugin listed in the Plugins section.
- Find the Plugin you uploaded and click on the Install button next to it.
- Follow any additional on-screen instructions to complete the installation.

4. ✅ Activate the Plugin
- Once installed, you need to activate the Plugin. You can do this from the same Plugins page.
- Find the installed Plugin and click on the Activate button.

🛠️ Troubleshooting Tips
- 🔄 Check Compatibility: Ensure the Plugin is compatible with your version of Rise CRM.
- 🧹 Clear Cache: Sometimes, caching issues can cause problems. Clear your browser and application cache.
- 📚 Refer Documentation: Refer to our Online Documentation for specific instructions or troubleshooting steps.
- 📞 Contact Support: We have a dedicated support center for all of your support needs. It includes our Online documentation and Support Ticket system for any questions you have. We usually get back to you within 12–24 hours.