Creating Boards
Boards are the foundation of FeedbackFlow, allowing you to organize feature requests by product, project, or category.
What are Boards?
Boards are separate feedback portals, each with:
- Unique branding (colors, images, text)
- Custom form labels
- Independent feature requests
- Own settings and statuses
Example boards:
- "Mobile App Ideas"
- "Website Features"
- "API Requests"
- "Bug Reports"
Creating Your First Board
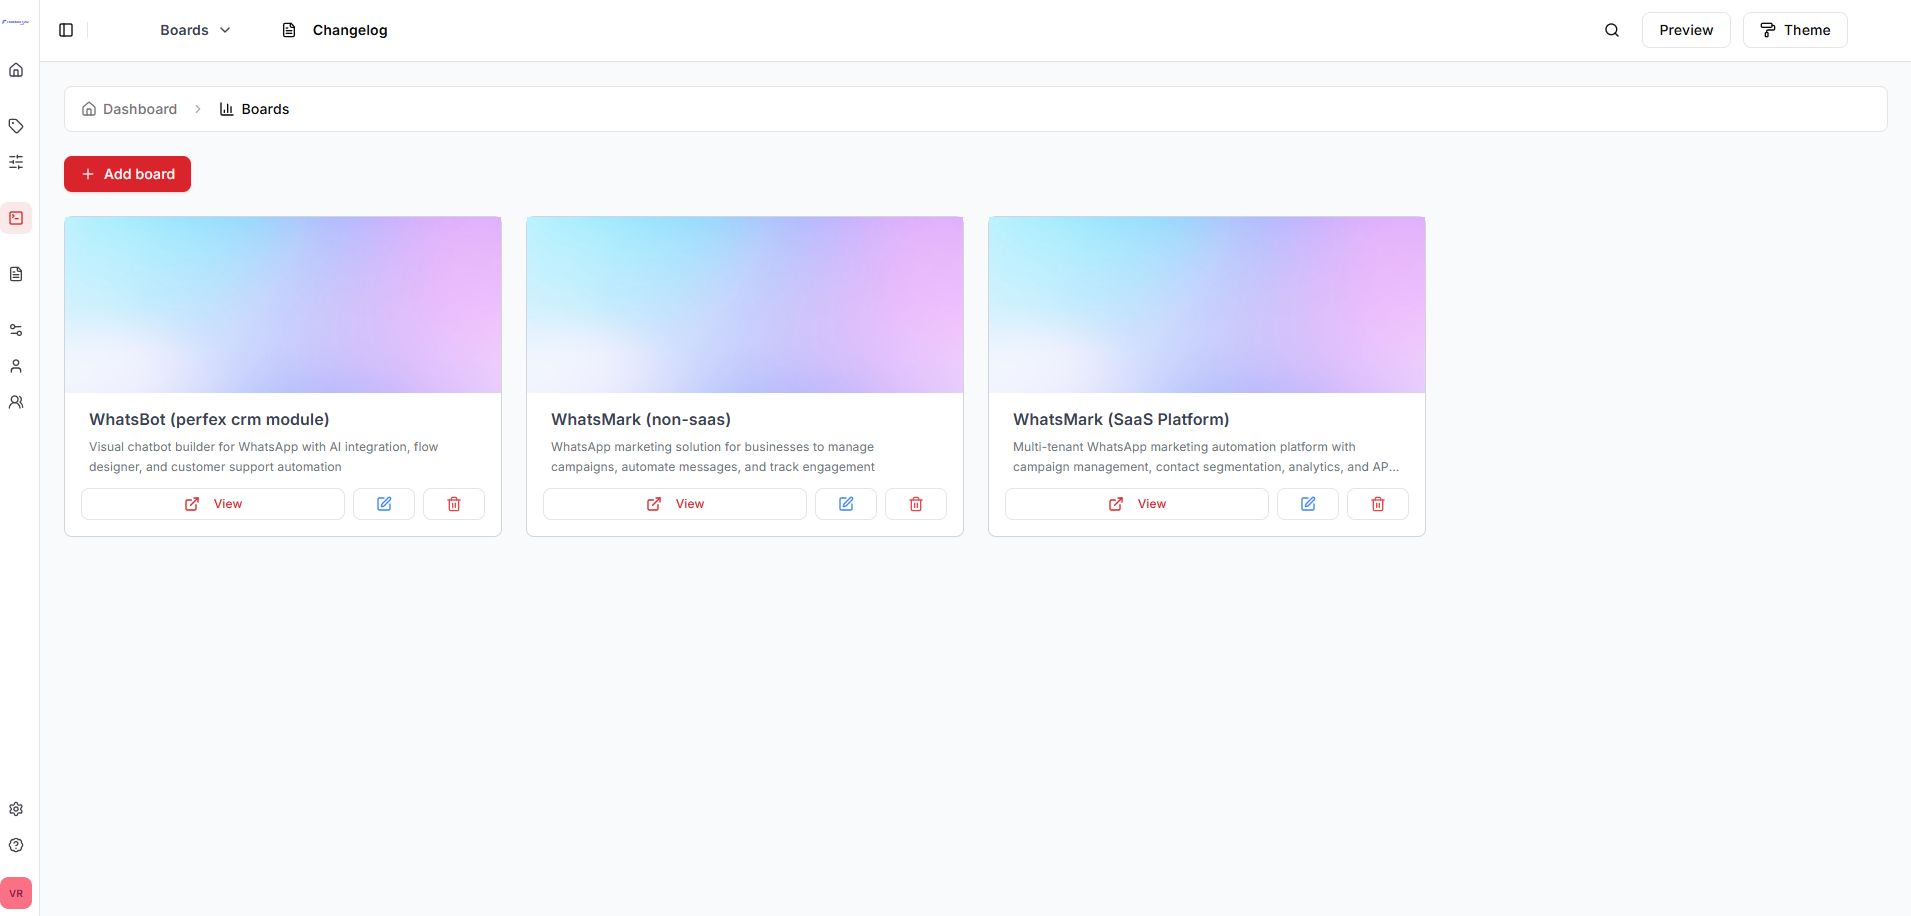
Step 1: Navigate to Boards
- Log in to admin dashboard
- Click Boards in sidebar
- Click Add Board
Step 2: Basic Information
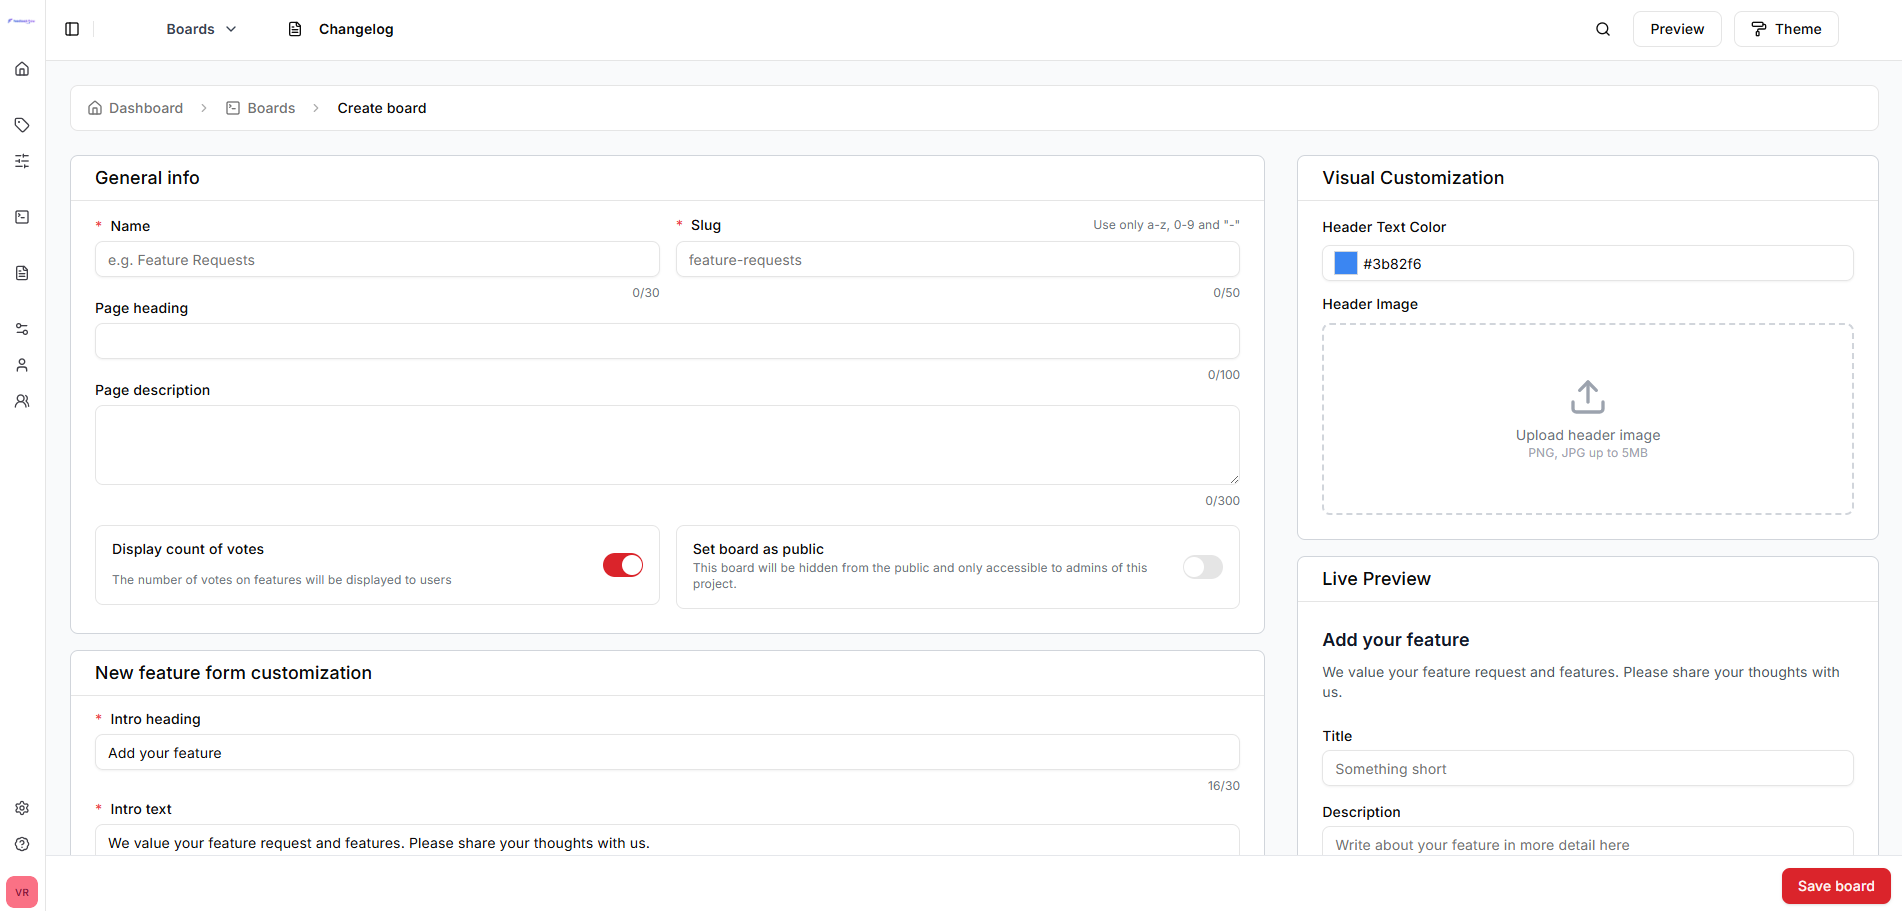
Fill in the board details:
| Field | Description | Required |
|---|---|---|
| Board Name | Display name | ✓ Yes |
| Slug | URL-friendly identifier | ✓ Yes (auto-generated) |
| Description | Brief explanation | Optional |
| Heading | Header text on board page | Optional |
Example:
Board Name: Product Feature Requests
Slug: product-features (auto-filled)
Description: Submit and vote on new features for our product
Heading: What features would you like to see?
Step 3: Introduction Section
Add an introduction shown at the top of the board:
| Field | Description |
|---|---|
| Intro Heading | Section title (e.g., "Welcome") |
| Intro Text | Description or guidelines |
Example:
Intro Heading: Share Your Ideas
Intro Text: We value your feedback! Submit feature requests,
           vote on ideas you love, and help shape our roadmap.
Step 4: Form Customization
Customize the feature request submission form labels:
| Field | Default | Customize |
|---|---|---|
| Title Label | "Feature Title" | Your custom text |
| Title Placeholder | "Enter a title..." | Your custom placeholder |
| Body Label | "Description" | Your custom text |
| Body Placeholder | "Describe your idea..." | Your custom placeholder |
| Footer Text | (none) | Additional info below form |
| Button Text | "Submit Request" | Your custom button text |
Example customization:
Title Label: What's your idea?
Title Placeholder: Briefly describe your feature request...
Body Label: Tell us more
Body Placeholder: Provide details about how this feature would help you...
Footer Text: All submissions are reviewed within 24 hours.
Button Text: Share My Idea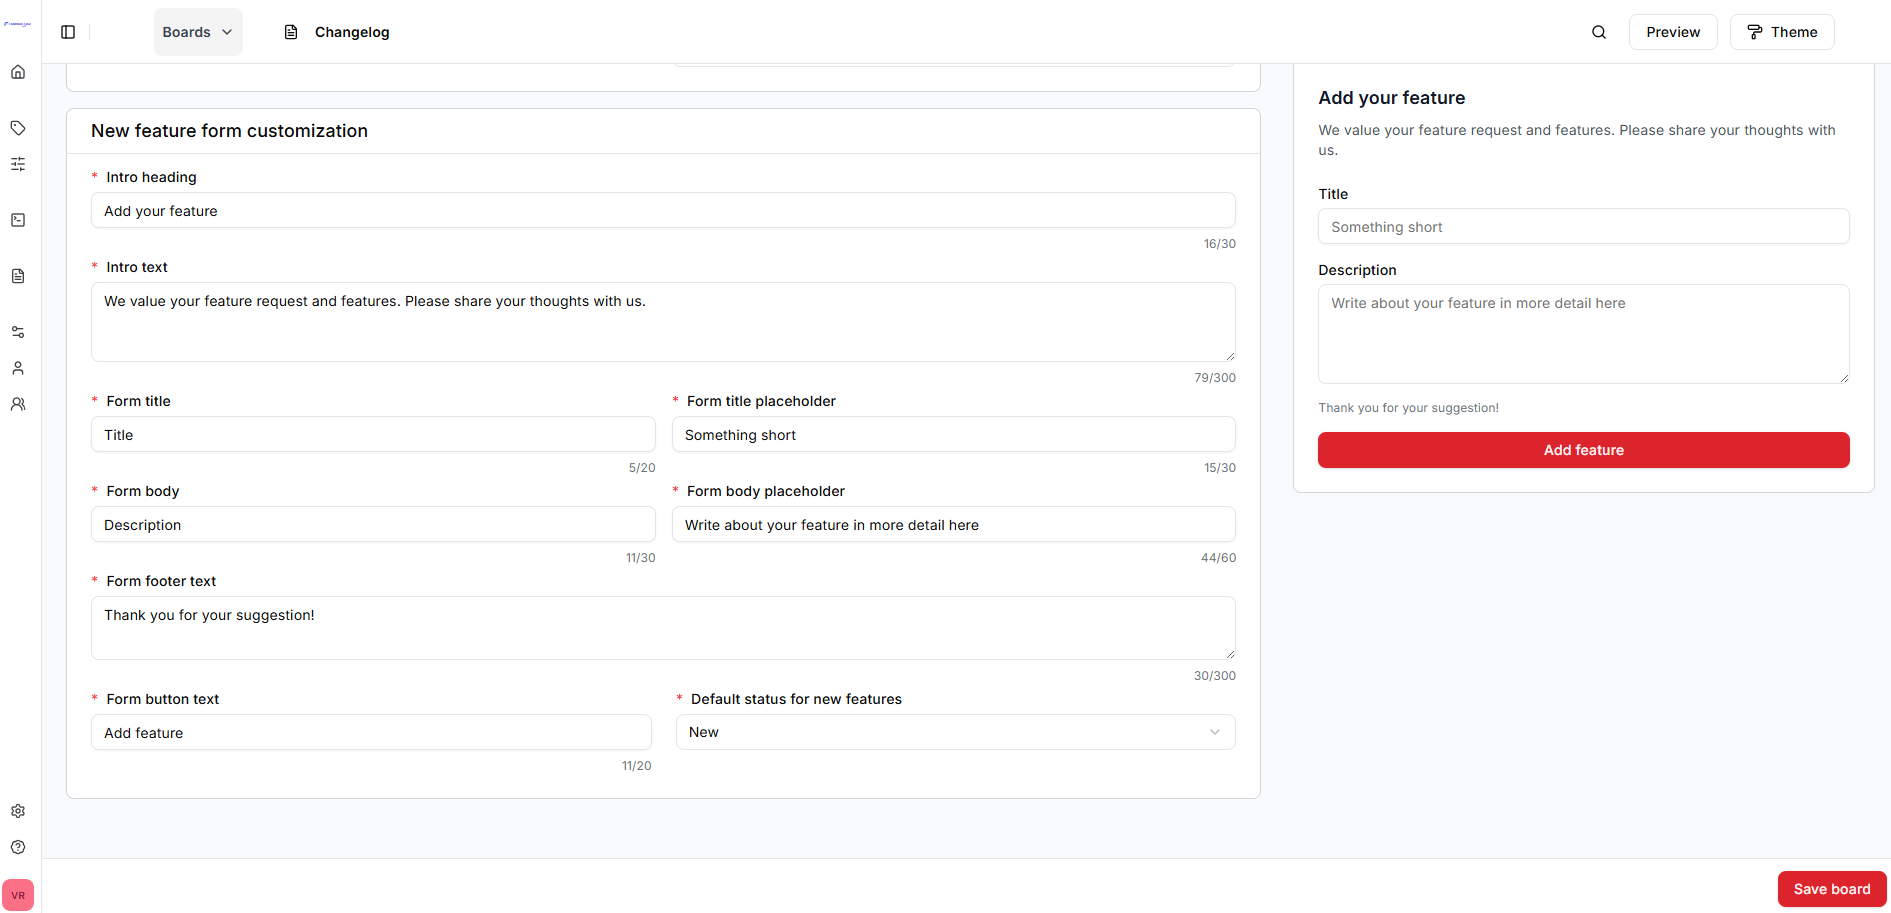
Step 5: Board Settings
Configure board behavior:
Visibility
- Public: Anyone can view and submit (default)
- Private: Only logged-in users can access
Enable Voting
- Toggle on/off to allow upvoting/downvoting on this board
Default Status
- Choose which status new feature requests receive automatically
- Example: "Under Review", "Submitted", "Open"
Step 6: Save Board
Click Save Board to save.
You'll be redirected to the board's feature request list.
Accessing Your Board
After creation, users can access the board at:
https://yourdomain.com/board/{slug}Example:
https://yourdomain.com/board/product-featuresCreating Multiple Boards
Create as many boards as needed:
Common use cases:
- Separate boards per product
- Different boards for features vs bugs
- Internal vs external feedback boards
- Department-specific boards
Example structure:
├── Mobile App Features
├── Web Platform Ideas
├── API & Integrations
└── Bug Reports
Board Slug Guidelines
Slugs must be:
- Lowercase
- URL-friendly (no spaces or special characters)
- Unique across all boards
- Permanent (changing breaks existing links)
Good slugs:
product-ideasmobile-featuresapi-requests
Bad slugs:
Product Ideas(contains spaces and capitals)features!!!(special characters)temp(not descriptive)
Default Data
Each new board inherits:
- System-wide statuses (from satus table you can set order of status also)
- Default priority levels
- Tag system
You can customize these per-board if needed.
Board Permissions
By default:
- Admins: Full access to all boards
- Users: Can submit Feature request to public boards
- Guests: Can view public boards (based on board visibility setting)
- TeamMembers: Full access to all boards (based on roles and permissions assigned)
Next Steps
After creating a board:
- Board Customization - Advanced branding and customization
- Board Settings - Detailed board configuration